Playing the electric guitar is a thrilling experience, but it’s crucial to make sure your instrument is in tune for the best sound quality. In this guide, we’ll walk you through the basics of tuning your electric guitar using simple steps that even beginners can follow.
Whether you’re using an electronic tuner or going the manual route, we’ve got you covered.
Guitar Tuning Basics
Tuning your guitar is the first step to creating harmonious melodies and enjoying a satisfying playing experience. In this guide, we’ll delve into the fundamentals of guitar tuning, breaking down the essential basics to help you achieve that perfect sound.
Standard Tuning (EADGBE)
The standard tuning for a six-string guitar is EADGBE, starting from the lowest-pitched string to the highest:
- Low E (6th string)
- A (5th string)
- D (4th string)
- G (3rd string)
- B (2nd string)
- High E (1st string)
Understanding this standard tuning provides a universal foundation for playing various musical genres.
Importance of Using an Electronic Tuner
Investing in an electronic tuner can significantly simplify the tuning process, especially for beginners. Electronic tuners detect the pitch of each string, guiding you to achieve accurate tuning swiftly.
They come in various types, including clip-on tuners that attach to your guitar’s headstock or pedal tuners for stage performances.
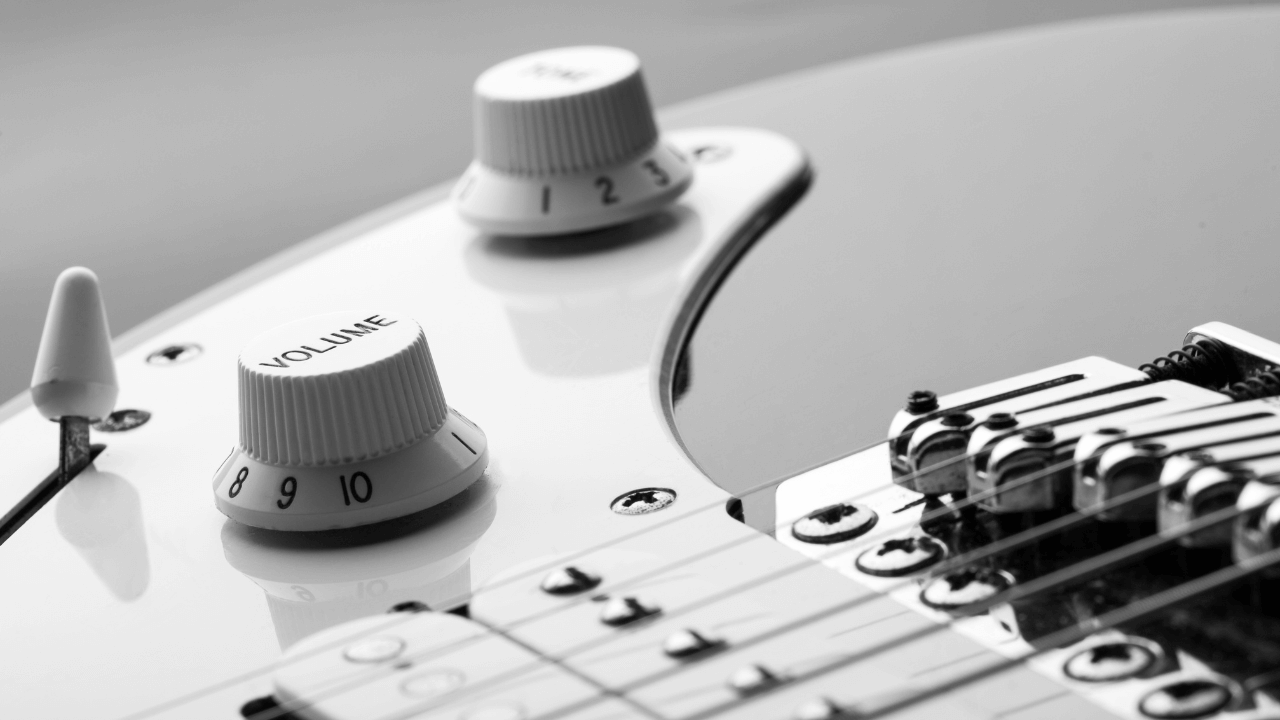
Tuning Pegs and Their Role
Tuning pegs, located on the headstock of your guitar, are vital for adjusting the tension of each string. Turning the pegs clockwise raises the pitch, while turning them counterclockwise lowers it. Familiarize yourself with the location of each peg and their corresponding strings to navigate the tuning process smoothly.
Choosing the Right Tuning Method
Selecting the appropriate tuning method for your electric guitar is a pivotal decision that can impact your playing experience. In this guide, we’ll explore the two primary tuning methods—manual tuning and using an electronic tuner—to help you make an informed choice that suits your preferences and skill level.
Different Tuning Methods
Manual Tuning
Manual tuning involves adjusting the tension of each string by ear. This method requires a good sense of pitch and is often favored by more experienced musicians.
Advantages:
- Develops your ear for pitch recognition.
- Can be a valuable skill for playing in diverse musical settings.
Disadvantages:
- Takes time to master.
- Less precise, especially for beginners.
Electronic Tuning
Using an electronic tuner is a modern and efficient method for achieving accurate tuning. These devices detect the pitch of each string, guiding you to reach the correct notes quickly.
Advantages:
- Quick and accurate tuning, ideal for beginners.
- Immediate feedback enhances learning.
Disadvantages:
- Requires an additional investment.
- May not develop ear-tuning skills as effectively.
Advantages and Disadvantages
Manual Tuning:
Advantages:
1. Ear Training:
- Develops your ability to recognize and reproduce different pitches.
- Useful for musicians who play in varied musical contexts.
2. Musical Expression:
- Allows for subtle adjustments to achieve a unique sound.
- Enhances your connection to the instrument.
Disadvantages:
1. Learning Curve:
- Takes time to develop the skill of tuning by ear.
- Initial tuning may not be as precise, especially for beginners.
2. Limited Accuracy:
- Less precise compared to electronic tuners, especially for beginners.
Electronic Tuning:
Advantages:
1. Precision:
- Ensures accurate tuning, especially beneficial for beginners.
- Immediate feedback allows for quick adjustments.
2. Time-Efficient:
- Streamlines the tuning process, saving practice time.
- Ideal for musicians with busy schedules.
Disadvantages:
1. Cost:
- Requires an investment in an electronic tuner.
- Additional expense for beginners.
2. Dependency:
- May not foster the development of ear-tuning skills as effectively.
- Relies on battery or power source availability.
Recommendations for Beginners
For beginners, the electronic tuner is often the recommended choice. Here’s why:
Accuracy: Electronic tuners provide precise tuning, reducing the chances of beginners playing out-of-tune notes.
Feedback: Immediate feedback from the tuner helps beginners develop a sense of pitch and understand the nuances of tuning.
Efficiency: Electronic tuners streamline the tuning process, allowing beginners to focus more on playing and less on adjusting the strings.
As you progress and gain more experience, exploring manual tuning methods can be a valuable skill to develop. Ultimately, the choice between manual tuning and an electronic tuner depends on your personal preferences, goals, and the style of music you intend to play.
Step-by-Step Guide to Tuning Your Electric Guitar
Tuning your electric guitar is an essential skill that can significantly enhance your playing experience. In this step-by-step guide, we’ll walk you through the process, whether you’re using an electronic tuner or prefer the more traditional manual tuning method.
Checking the Initial Tuning
Before diving into the tuning process, it’s crucial to check if your guitar is close to being in tune. This initial check provides a starting point and helps identify any strings that require significant adjustment.
Pluck Each String Individually:
- Start with the low E string (6th string) and pluck it open.
- Move through each string, listening for any noticeable deviations from the desired pitches.
Identify Out-of-Tune Strings:
- Pay attention to strings that sound noticeably higher or lower than the standard pitches.
- This initial check provides a roadmap for the tuning adjustments you’ll make.
Using an Electronic Tuner
Choosing a Reliable Electronic Tuner
Selecting the Right Tuner:
- Invest in a reliable electronic tuner based on reviews and user recommendations.
- Clip-on tuners that attach to the headstock are popular for their convenience.
Properly Clipping the Tuner
Attach the Tuner:
- Clip the tuner onto the headstock of your guitar, ensuring a secure and stable connection.
- Position it where it has a clear view of the strings.
Tuning Each String
Turn on the Tuner:
- Power on the electronic tuner and select the standard tuning setting (EADGBE).
Pluck Each String:
- Pluck each string individually, observing the tuner’s display.
- Adjust the tuning peg for each string until the tuner indicates that the correct pitch has been reached.
Fine-Tuning:
- Make small adjustments to the tuning peg to fine-tune the pitch and achieve precision.
- Repeat this process for each string until your guitar is perfectly tuned.
Manual Tuning Method
Using a Reference Pitch
Choose a Reference Pitch:
- Use a tuning fork, piano, or an online tuner to provide a reference pitch for the low E string.
Adjusting Tuning Pegs by Ear:
- Pluck the low E string and compare it to the reference pitch.
- Turn the corresponding tuning peg to raise or lower the pitch until it matches the reference.
Checking the Tuning Using Harmonic Notes:
- Verify the tuning accuracy by playing harmonic notes over the 5th, 7th, or 12th frets.
- Listen for a clear, bell-like sound to ensure each string is tuned correctly.
Conclusion
Tuning your electric guitar is a fundamental skill that enhances your playing experience. Whether you opt for an electronic tuner or prefer the manual approach, the key is to stay consistent.
Regular tuning, coupled with proper maintenance, ensures your electric guitar is always ready to produce the perfect sound for your musical journey. Happy tuning!